PCCI: Studio Portrait Photography, Day 2
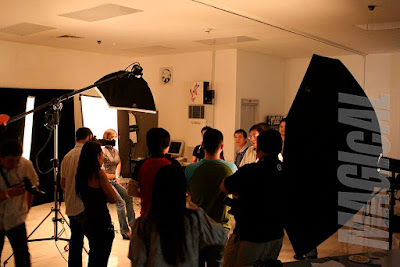
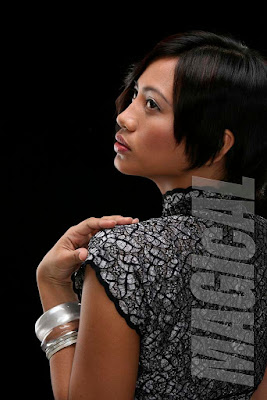
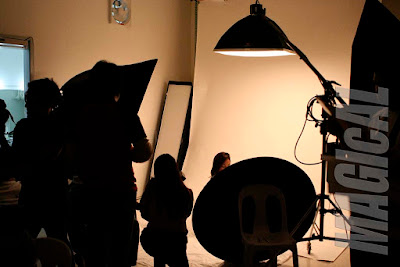
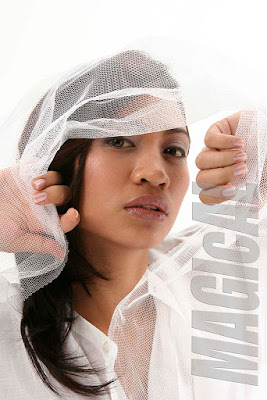
Since the Ibarra Deri wanted us to learn how to lead the "subject", the first shoot for the day is having PCCI's secretary, Jheng, to be our "model". This proved to be effective as we have to guide her on how she would project herself.The succeeding shoot is with the model, April, using different lighting set-up.


As a plus factor, he shared some times on photo enhancement using Adobe Photoshop.
ADJUSTING PORTRAITS VIA PHOTOSHOP
1) If in RAW, adjust fill light, exposure.
2) Duplicate layer (Ctrl J).
3) To change the color of the eyes:
* Select eyes.
* Copy to a new layer with Screen mode.
* Adjust Opacity.
* Erase excess.
* If you want to merge the layer, press Ctrl E.
4) Remove blemishes/pimples:
a. Duplicate layer (Ctrl J).
b. Screen mode.
= Gaussian blur.
= Adjust opacity.
c. Duplicate layer (Ctrl J).
d. Darken mode.
= Adjust opacity.
e. In the Background layer, use patch tool or healing brush.
f. In the Screen mode layer, create a Layer Mask and use a black brush to enhance eyes, brows, etc.
g. In the Darken mode layer, create a Layer Mask and use black brush for those you want to darken.
5) Add texture:
a. Create new layer with Overlay mode and 50% gray.
b. Add noise (uniform and monochromatic).
c. Gaussian blur.
d. Emboss stylize.
e. Gaussian blur -- lower value than previous blur.
f. Adjust opacity.
g. Add mask in order to remove texture on parts that should not have texture/grain like eyes, lips, etc.
* When upsizing an image in Photoshop, increase by 10% by 10% until you have reached your desires size (use bicubic smooth).
* When downsizing an image in Photoshop, use bicubic sharper.
APERTURE WHERE IMAGE IS SHARPEST:
a) For 35mm, f/8 for film, f/11 for digital.
b) For medium format, f/16.
c) For large format, f/22.

0 Comments:
Post a Comment
<< Home